Knowde Enhanced TDS
Identification & Functionality
- Technologies
- Product Families
Features & Benefits
- Ready-to-Use Product Features
- Benefits
- Static Dissipative
- 14v Avg. BVG
- Excellent Adhesion
- Volt charge to Zero in 0.01 seconds
Applications & Uses
- Markets
- Compatible Substrates & Surfaces
- Typical Uses
DUR-A-GLAZE #4 ESD PRIMER is to be used as a primer for DUR-A-GARD ESD and is therefore not recommended as a stand alone system.
- Application
Installation Overview
The general steps required to install this system are:
- Prepare the slab-shot blast, patch, honor joints
- Prime with DUR-A-GLAZE #4 ESD PRIMER
- Install copper foil tape
- Install DUR-A-GARD ESD topcoat
- Test resistivity at 24 hrs after cure
Surface Preparation
Surface must be sound, dry and perfectly clean, free of all oil, grease, detergent film, sealers and/or curing compounds. A surface profile of CSP 2 to 3 is appropriate for most applications. All epoxy coatings should be removed unless it is properly bonded, totally de-glossed, high quality epoxy. If going over existing coating apply DUR-A-GLAZE #4 with SUPER-STICK ADDITIVE. Upper level rooms, like mechanical rooms, bathrooms, or wet process areas that have space below should receive ELAST-O-COAT seamless fluid applied membrane. Please refer to the DUR-A-FLEX Surface Preparation Guide for detailed instructions. No epoxy coatings should be applied unless surface temperature is a minimum of 5 degrees F above dew point. See Dew Point Calculation Chart on our website for detailed instructions. NOTE: For each application of material and before mixing, mark your batches to ensure you achieve your spread rate targets. This is best accomplished by dividing your target spread rate by the width of the area being coated (or your planned wet edge). Example: If your spread rate is 100 square feet and your area is 20 feet wide you would make a mark every 5 feet (100 divided by 20 = 5).
Mixing Area
Select a convenient mix area and protect the surface from spillage by covering with a layer of cardboard and/or sheet of plastic. Be generous with the amount of space you allocate for this function. The more comfortably your mixer works, the less likely you are to have a “mix error”. Make ready all necessary tools, mix and measure containers, etc. DO NOT MIX ANY EPOXY UNTIL READY FOR IMMEDIATE USE. Once hardener and resin are combined, it must be used without delay, working time is dependent on size of batch and the temperature of the floor and product. Apply masking tape wherever coating is intended to stop. To obtain neat, straight, chip resistant edges at termination points and/or drains, a “keyed edge” must be installed.
Pre-patch
Pre-patch badly eroded, spalled or cracked areas with appropriate material. Use ELAST-O-COAT for moving joints, and DUR-A-GLAZE #4 mixed with NO-SAG #2 or FLINTSHOT for non-moving joints. BE SURE TO LEAVE AS LITTLE EXCESS AS POSSIBLE AS IT WILL BE HIGHLIGHTED IN SUCCESSIVE STEPS. Sanding or grinding pre-patch areas will help to hide deviations.
Priming With DUR-A-GLAZE #4 ESD PRIMER
All surfaces must be primed with DUR-A-GLAZE #4 ESD PRIMER as soon as the surface has been prepared. Due to the porosity of the concrete, the possibility of out gassing may occur after shot blasting, if this occurs, a second primer coat is needed.
- Pre-mix hardener and resin components separately before combining.
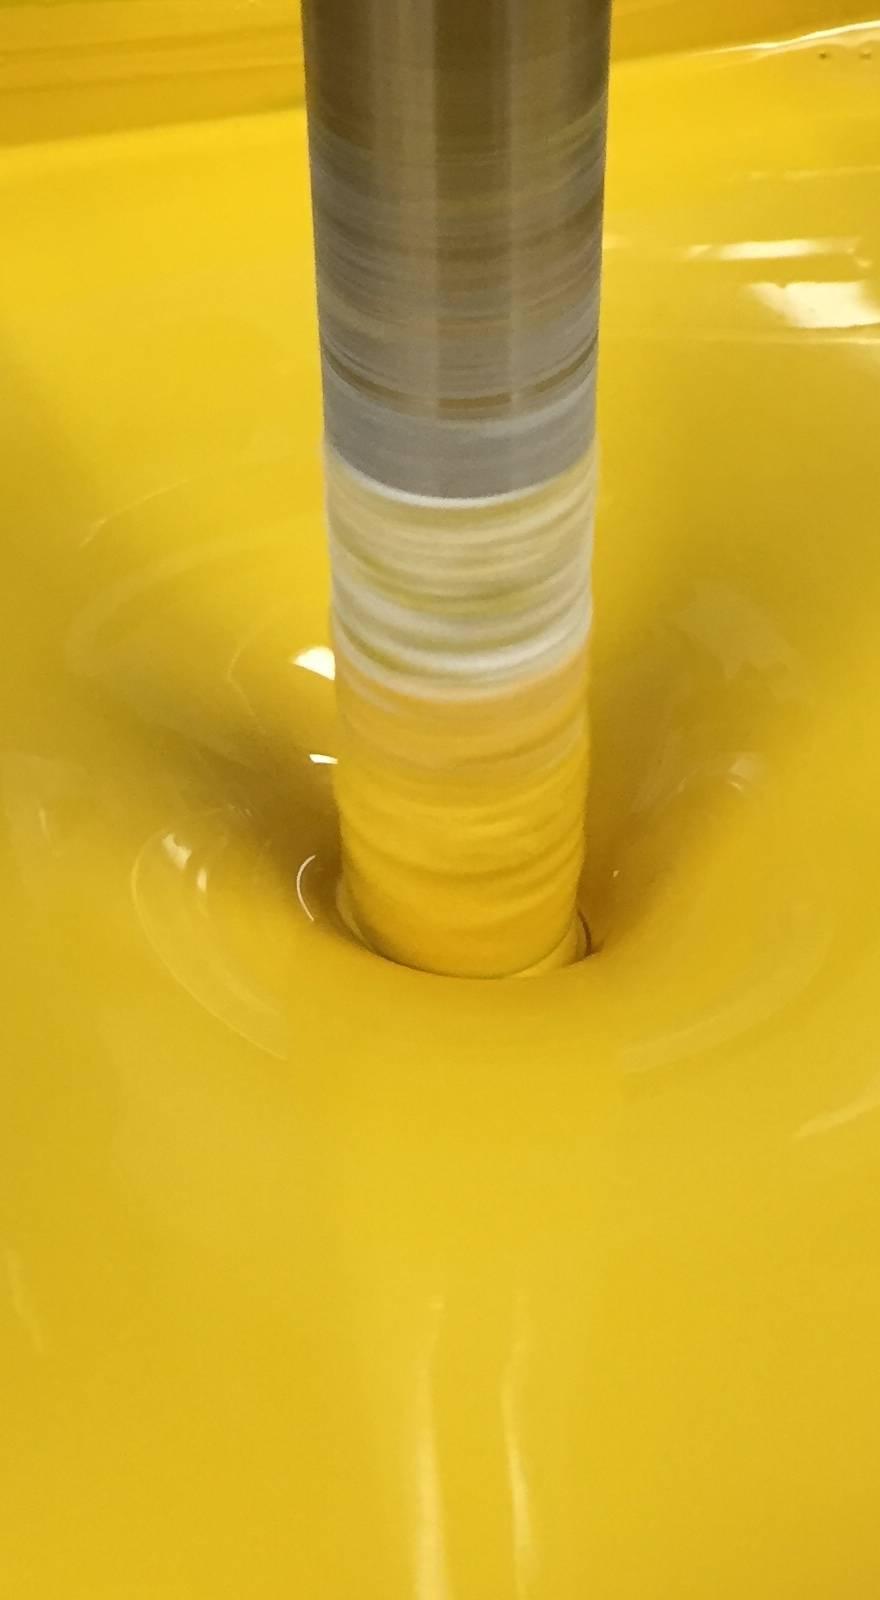
- DUR-A-GLAZE #4 ESD PRIMER is mixed 1 part Hardener to 2 parts Resin mix ratio. Measure out 1/2 gallon of DURA-GLAZE #4 ESD PRIMER hardener and 1 gallon of DURA-GLAZE #4 ESD PRIMER resin. When combining, be sure to add the hardener first. Add the resin and scrape out the container. Be careful to pour both hardener and resin into the center of the mixing pail. Mix the blended epoxy with a slow speed power drill with a Jiffler mixing blade for 3 minutes. Always scrape the sides and bottom of the mixing bucket to assure thorough blending.
- Pour a 4 to 6 inch “ribbon” of blended epoxy onto the floor (typically along the far wall or a joint). DUR-A-GLAZE #4 ESD PRIMER is typically applied at 200 Sq Ft per gallon to yield 8 mils DFT per coat with a 1/8” notched squeegee. Back roll with a quality non-shed 3/8” nap roller. Cross roll entire area as you go, while wearing spiked shoes. Be sure to remove any impurities as you see them. It is much harder to cut or grind them out after the product has cured. Allow to cure.
Copper Foil Tape Installation
Install Copper foil tape conductive adhesive to ground (such as metal support columns). Copper foil tape is available from McMaster-Carr Company (www.mcmaster.com). Dur-A-Flex, Inc. recommends using the ½” tape with conductive adhesive part number 76555A642. Copper foil tape should be installed at one point per 1,000 square feet minimum.
Quality Control
The color of DUR-A-GARD ESD resin may vary slightly from batch to batch. It is recommended that the lot number on the side of the resin pail be checked, if lot numbers are different, segregate and apply each lot contiguously to minimize slight color variations on the floor.
Top Coat With DUR-A-GARD ESD
After priming with DUR-A-GLAZE #4 ESD PRIMER and installing Copper foil tape to grounds, Topcoat with DUR-AGARD ESD.
- Pre-mix hardener and resin components separately before combining.
- DUR-A-GARD ESD is mixed in a 1part Hardener to 3 parts Resin mix ratio. Measure out 1/2 gallon of DUR-A-GARD ESD hardener and 1 1/2 gallons of DUR-A-GARD ESD resin. When combining, be sure to add the hardener first. Add the resin and scrape out the container. Be careful to pour both hardener and resin into the center of the mixing pail. Mix the blended epoxy with a slow speed power drill with a Jiffler mixing blade for 3 minutes. Always scrape the sides and bottom of the mixing bucket to assure thorough blending.
- Pour a 4 to 6 inch “ribbon” of blended epoxy onto the floor (typically along the far wall or a joint). DUR-A-GARD ESD is typically applied at 100 Sq. Ft. per gallon to yield 16 mils DFT (or 20 mils @ 80 Sq. Ft. per gallon) with a 3/16” notched squeegee and then back-rolled with a quality nonshed 3/8” nap roller. Cross roll entire area as you go, while wearing spiked shoes. Be sure to remove any impurities as you see them. It is much harder to cut or grind them out after the product has cured. Allow to cure.
Testing Resistivity
Once DUR-A-GARD ESD has cured for 24 hours at 70°F, resistance readings should be taken to ensure the floor is reading properly. DUR-A-FLEX, Inc. recommends using the OHM-STAT RT-1000 Megohmmeter from Static Solutions. Floor readings should be tested at 100V and read between 106 -109 Ω/Square.
Important
Increasing Room Temperature To Accelerate Cure Is Not Recommended, A Slight Reduction (3°-5°F) From Reasonable Room Temperature May Help Reduce Out Gassing. Dur-a-gard Esd Is A High Gloss Finish And Special Care Should Be Given To Avoid Surface Contamination. Use Signs And Barriers To Keep Traffic Out Of The Area. Do Not Allow Any Water On Coated Surface For 24-48 Hours. Chemical Spillage Must Be Prevented For Approximately 5 Days. Note: Use Dur-a-solve For Clean Up. This Product Is Suitable For Applications Between 60° And 85° F Concrete Slab Temperature. Do Not Thin Dur-a-glaze #4 Esd Primer Or Dur-agard Esd With Solvent.
Limitation
This product is best suited for application in temperatures between 60°F and 85°F. Top-coating with non-conductive waxes or finishes will render the static dissipative properties ineffective. This product is not intended for use in munitions or explosive manufacturing facilities.
Properties
- Physical Properties
- Typical Properties
| Value | Units | Test Method / Conditions | |
| Surface Resistivity | 10⁶ -10⁹ | Ω/Square | ASTM D-257 |
| Static Decay | 0.01 | Seconds | Mil-Std-3010, Method 4046 |
| Voltage Generation (With dissipative footwear) | 14.0 | v | ESD STM 97.2 |
| Compressive Strength | 16000.0 | psi | ASTM D-695 |
| Compressive Strength | 10500.0 | psi | ASTM C-579 |
| Tensile Strength | 3000.0 | psi | ASTM D-638 |
| Tensile Strength | 1950.0 | psi | ASTM C-307 |
| Tensile Elongation | 7.5 | % | ASTM D-638 |
| Flexural Strength | 2900.0 | psi | ASTM D-790, ASTM C-580 |
| Hardness | 70 - 80 | Shore D | ASTM D-2240 |
| Linear Shrinkage | 0.02 | % | ASTM D-2566 |
| Linear Expansion | 2 x 10⁵ | — | ASTM D-696 |
| Bond Strength to Concrete (Substrate Fails) | 400.0 | psi | ASTM D-4541 |
| Indentation | Pass | — | MIL D-3134 |
| Water Absorption | 0.04 | % | ASTM D-570 |
| Heat Resistance Limitation | 140 - 200 | °F | — |
| Flammability | Self Extinguishing | — | ASTM D-570 |
| Flame Spread/NFPA 101 | Class A | — | ASTM E-84 |
| Abrasion Resistance (CS17 Wheel 1000 GM Load 1000 Cycles) | 75.0 | mg loss | ASTM C-501 |
| Coefficient of Friction | min. 0.6 | — | ASTM D-2047 |
| VOC Content | 7.45 | g/l | — |
| Value | Units | Test Method / Conditions | |
| Mix Ratio | 2 parts Resin to 1 part Hardener | — | — |
| Mixed Viscosity (At 70°F) | 1700.0 | cps | — |
| Pot Life (At 70°F) | 20 - 25 | minutes | — |
| Cure Time (Touch Dry at 70°F) | 44783.0 | hours | — |
| Cured Film Thickness | 8.0 | mils | — |
| Toxicity (USDA compliant) | Non-toxic | — | — |
| Recoat Window | 8 - 36 | hours | — |
Regulatory & Compliance
- Certifications & Compliance
Packaging & Availability
- Packaging Type
- Packaging
DUR-A-GLAZE ESD is packaged in 1-gallon cans or 5-gallon pails.
Storage & Handling
- Storage Conditions
Shelf life is 6 months in unopened containers. DUR-AGLAZE #4 ESD PRIMER Resin is mixed with DUR-A-GLAZE #4 ESD PRIMER hardener.